Why Marble Blocks Are Reinforced with Epoxy and Mesh
If you have ever received a marble slab with a filled hairline crack running through it, or seen a resin patch where the stone had pulled away, your first instinct was probably that something had gone wrong. In most cases nothing had. What you were looking at was the result of a deliberate process that made the slab possible in the first place.
Reinforcement with epoxy and fibreglass mesh is one of the least understood stages in marble production, and one of the most consequential for what finally arrives in your container. This guide explains what it is, why it is done, and what it means for you as a buyer.
Why Reinforcement Exists
Marble is not a uniform material. It carries the geology it came from: micro-fractures, veins that run at awkward angles, pockets of softer crystal. A block can look perfectly sound on the outside and still be carrying internal stress from the moment it was separated from the quarry face.
The problem shows up under the gangsaw and, more painfully, on the polishing line. An untreated block of the wrong type will produce slabs that crack as soon as the abrasives start working on them. At that point the material is finished – you cannot sell it, and the block it came from cannot be recut.
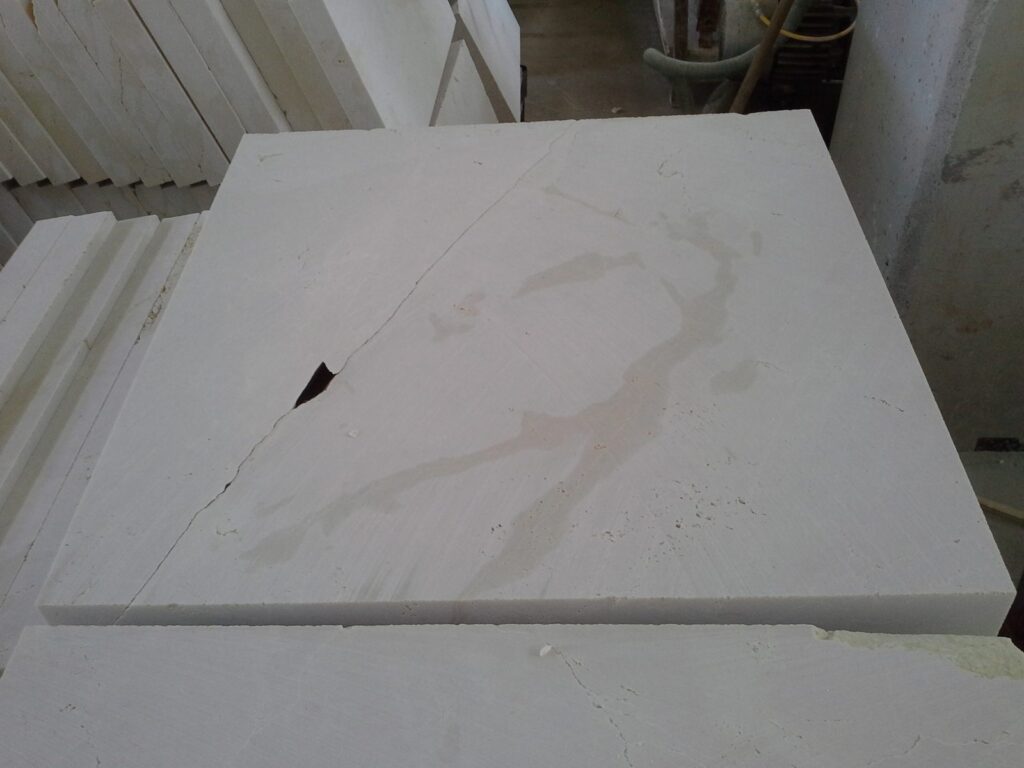
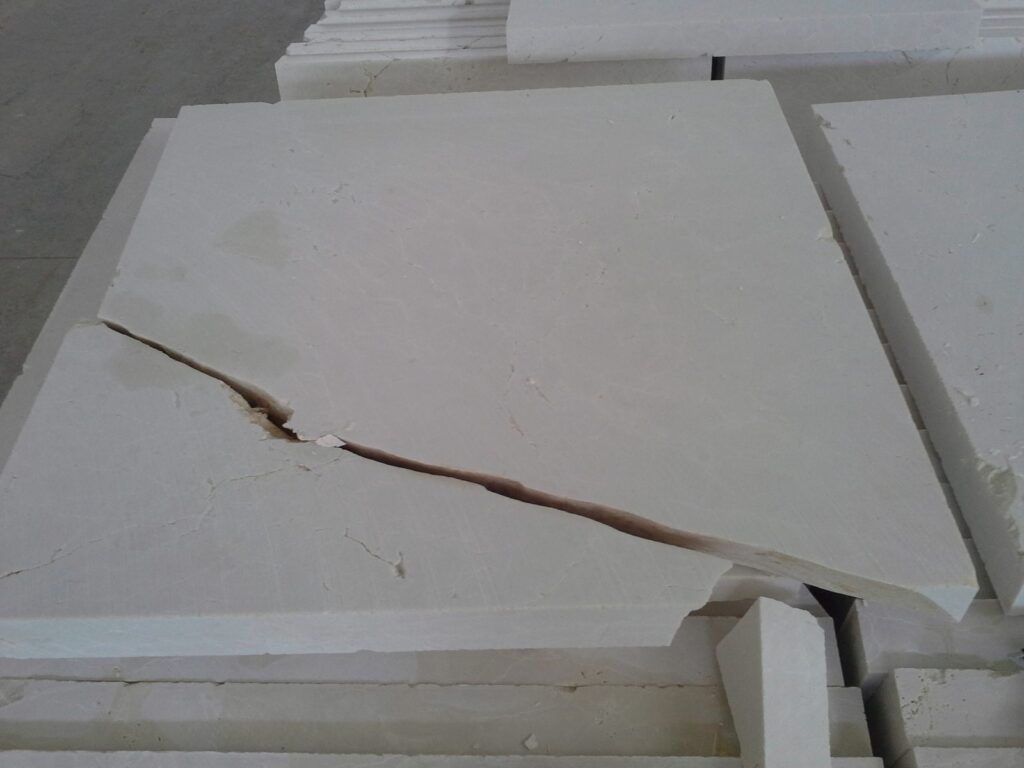
This is the real economics of reinforcement. It is not cosmetic. It is what allows a difficult block to yield sellable slabs at all, and it is why the same stone costs what it costs.
Not Every Stone Needs It
An important distinction, and one that suppliers rarely explain clearly:
- Travertine and true crystalline marbles – the harder, tighter structures – can often go to the gangsaw without any pre-treatment at all.
- Beige group marbles almost always need reinforcement before cutting. Their structure simply will not survive the process untreated.
So if you are comparing two quotations and one material is noticeably more expensive to process, this is frequently the reason. It is worth asking the question directly: does this block require reinforcement before cutting?
The Seven Methods
Reinforcement is not a single technique. Which one a factory uses depends on the stone, the equipment available and how much the block is worth protecting.
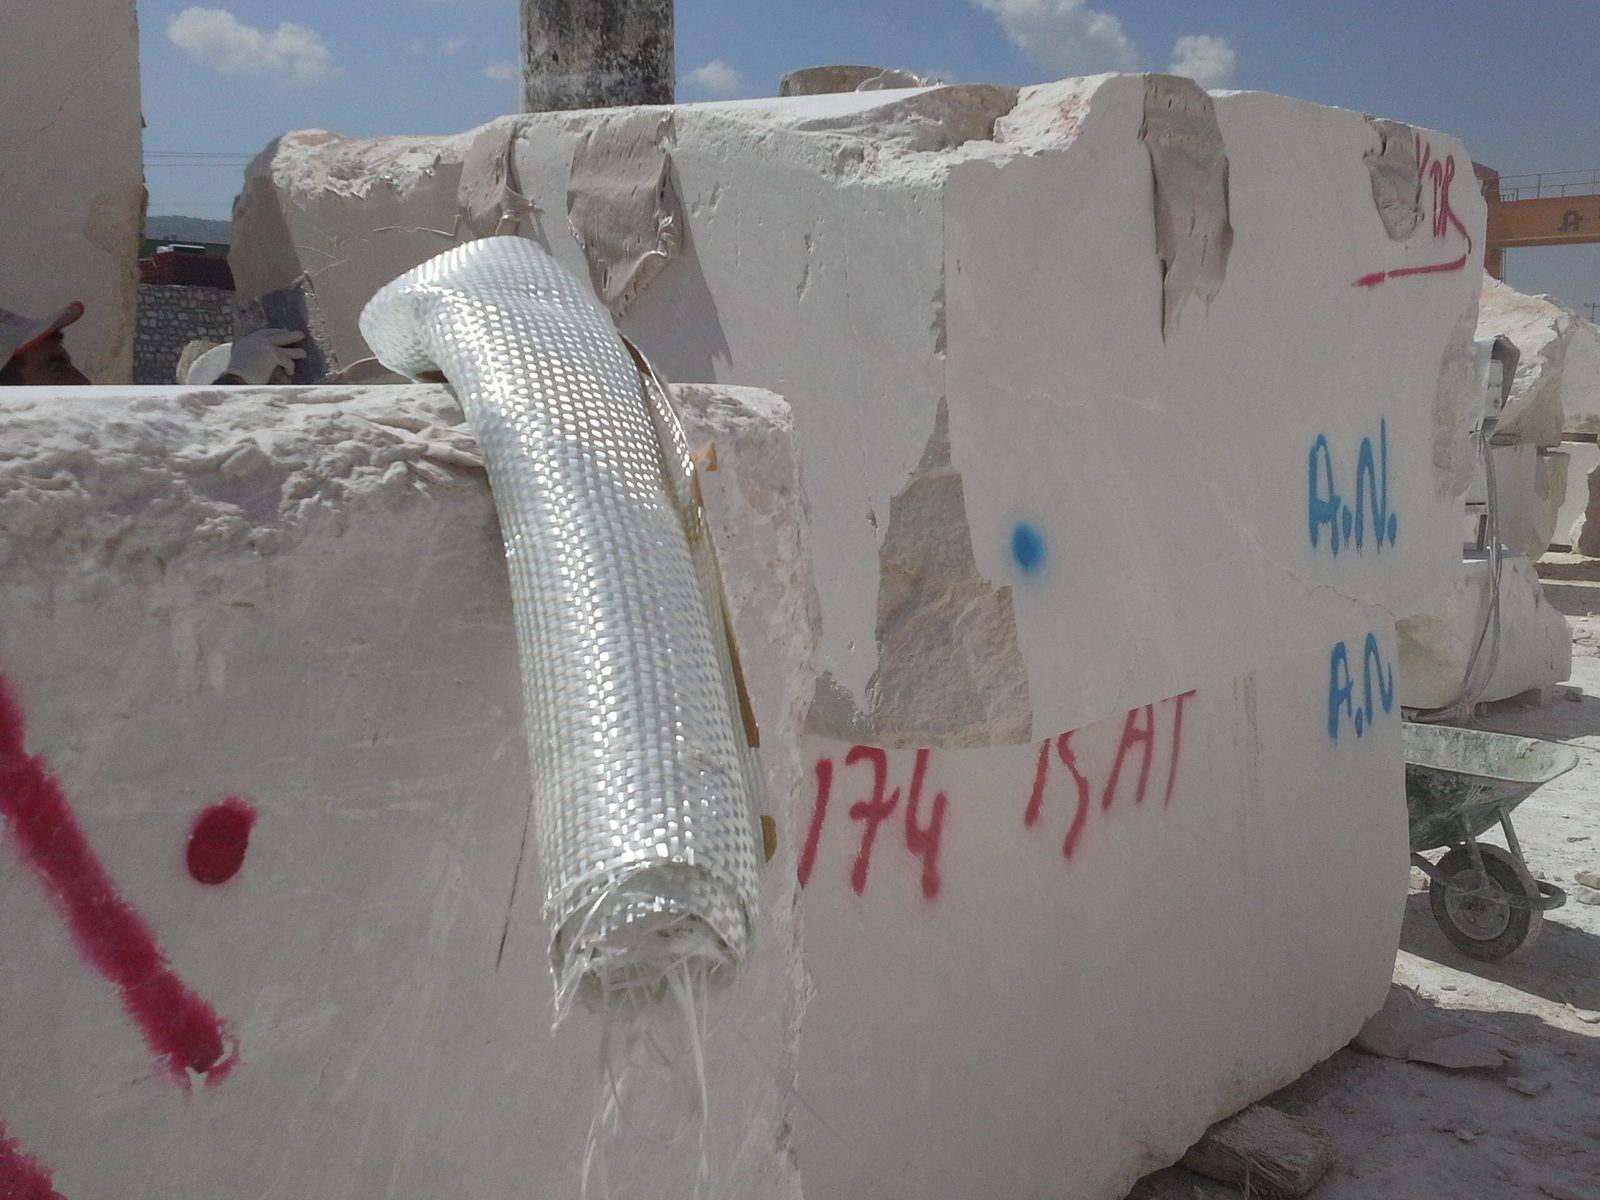
- Wrapping – fibreglass mesh at 300-600 g/m2 combined with epoxy gel, applied around the block.
- Troweling – epoxy gel worked directly into the surface.
- Spraying – epoxy gel applied with a spray gun.
- Nano-technology spraying – a specialised epoxy containing nano-scale fibres, applied with a dedicated gun.
- Bagging – the block is enclosed and liquid epoxy resin is introduced.
- Vacuum bagging – the same principle, with vacuum drawing the resin deeper into the stone.
- Vacuum plus autoclave – vacuum bagging followed by pressure treatment in an autoclave, the most thorough option available.
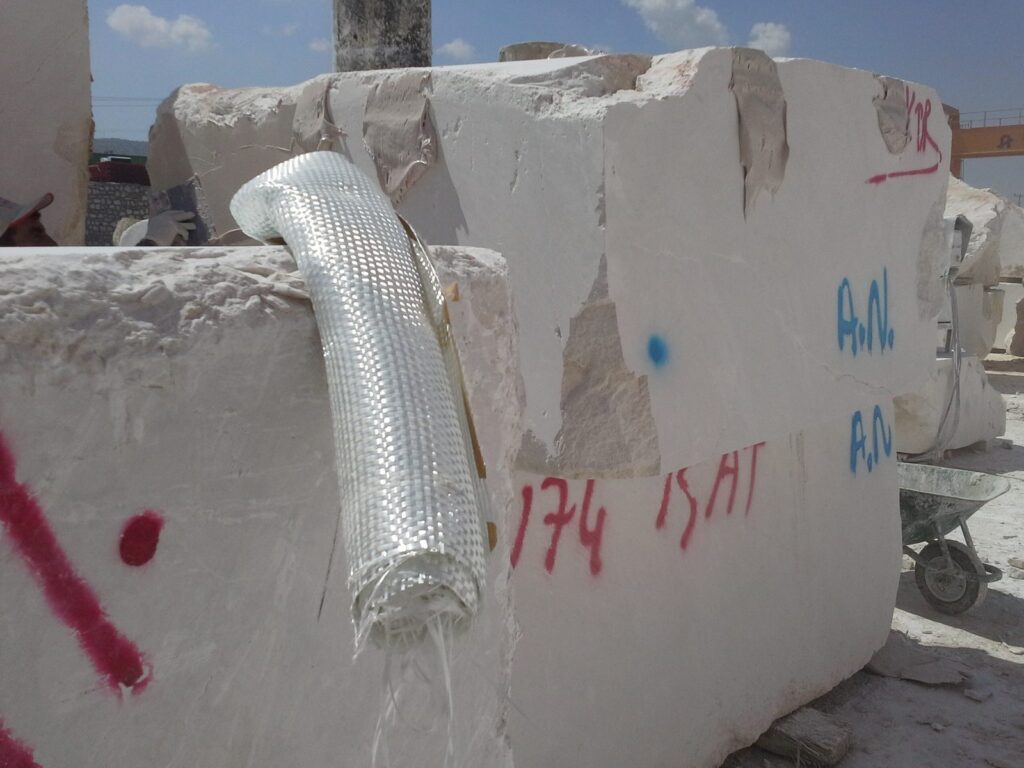
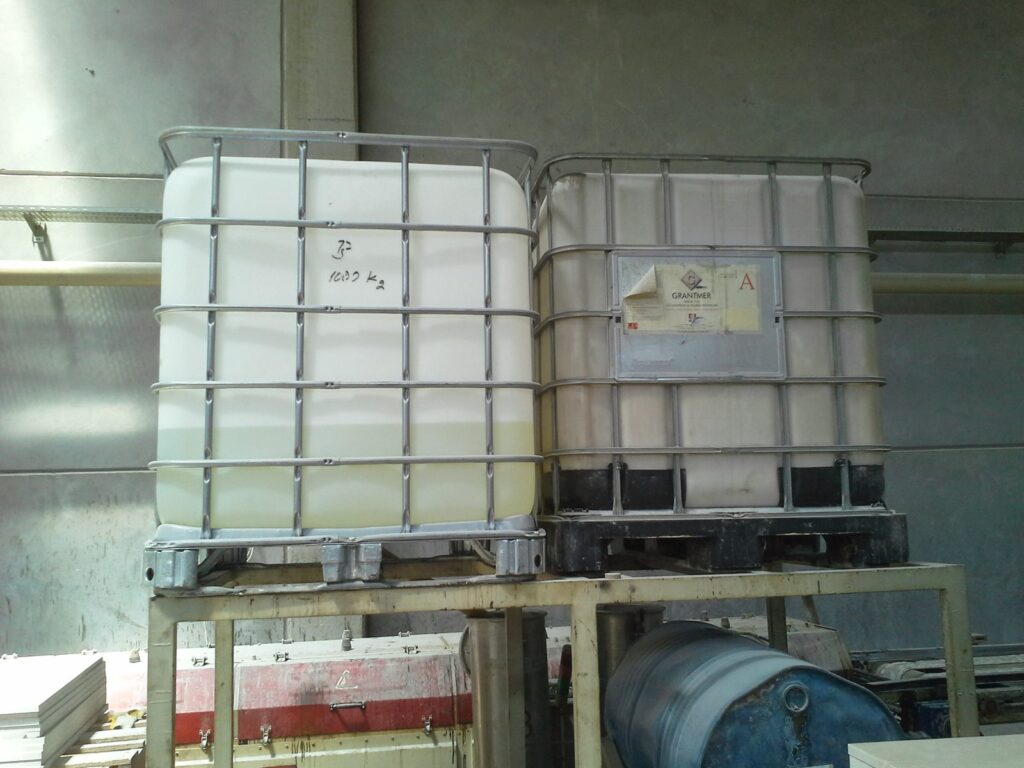
The methods lower down that list penetrate further and cost more. A block treated by vacuum and autoclave will behave differently on the saw than the same block given a surface coat of gel.
Drying Comes First
Before any resin is applied, the block goes into a drying oven. This step is easy to overlook and impossible to skip: epoxy will not bond properly to stone that still carries moisture from the quarry.
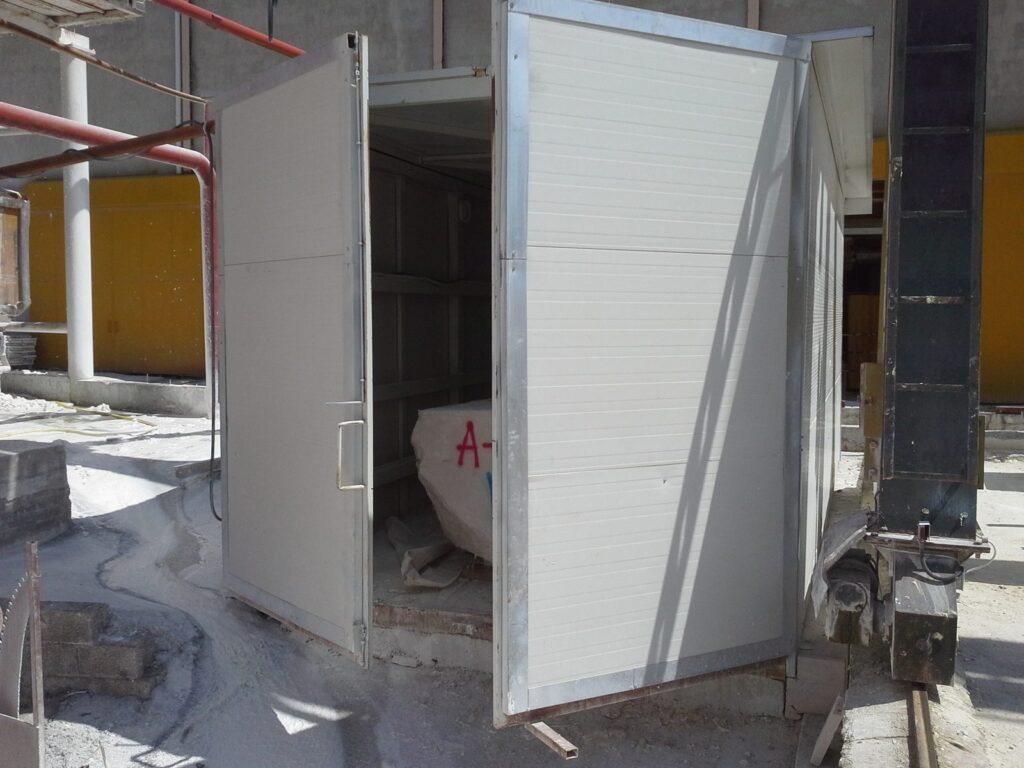
A block that has been rushed through drying, or skipped it altogether, will show the consequences later – resin that sinks into cracks instead of holding them, or bubbles forming in the fill. If you have ever seen a repair that looks like it has collapsed slightly below the slab surface, this is usually where it started.
The Second Stage: Slabs
Reinforcement does not end when the block is cut. After the gangsaw, the slabs go through a second treatment – epoxy, mesh and gel applied to the slab itself, in a dedicated oven.
The reason is the same, only more urgent. Polishing and honing put the slab under real mechanical stress. Without that second reinforcement, slabs shatter on the line. The material is lost, the block yield collapses, and what should have been a good production run becomes scrap.
This is also why the mesh backing you find on the underside of many slabs is there. It is not a sign of poor quality material. It is structural, and on some stones it is the only reason a 2 cm slab can be handled at all.
What This Means When You Inspect
Understanding the process changes what you should be looking for. Filled pits and repaired cracks are a normal part of production – the question is never whether they exist, but whether they were done properly.
What to check:
- Has the fill settled below the surface? A sunken repair will catch the light at an angle and will be felt with a fingertip.
- Are there bubbles in the resin? These indicate the epoxy went in badly, and they can open up later.
- Do the repairs match the stone? A well-executed fill disappears into the material. A poor one reads as a grey or yellow line across the face.
- How many repairs, and where? A handful across a bundle is ordinary. A concentration in one area suggests the block had a structural problem that was papered over.
Marble is porous, in much the same way skin is. Those pores appearing during processing is entirely normal, and closing them through repair is a standard stage of production – not a defect being hidden from you.
The Question Worth Asking Your Supplier
Before you commit to an order, ask which reinforcement method will be used on your material and whether the block will be dried first. A supplier who can answer that clearly is a supplier who is paying attention to the process. One who cannot may be buying finished slabs without knowing how they were made.
If you would like independent verification of how your material has been processed before it ships, our inspection services cover exactly this, and our guide to inspecting marble slabs before shipment sets out the full checking sequence.
How to Inspect Marble Slabs: A Field QC Guide
How Marble Is Made: From Quarry Block to Finished Slab